How to Use a Laminator
If you read my Topic on how much I Love Label Makers, this discussion of the joy of laminators will come as no surprise. Laminating is a cheap, super easy way to help keep things organized, and make durable instructions for items you can refer back to later.

Different Kinds of Laminators
There are, of course, many different kinds of lamination. You might see hot laminators, cold ones, or what not. But there are three basic buckets.
Laminators that use pouches <- We will focus here.
Laminators that use a film
Laminators that use some sort of a UV liquid to cover the object (paper, usually)
The film and the UV liquid kinds are for major, industrial stuff and if you need that sort of thing, you likely are doing it on some sort of industrial scale, and don’t want to read about it in a family blog talking about preparedness.
So everything I write about here is going to be the “pouch” type.
What do you use a Laminator FOR?
I use laminators for all sorts of things. Obviously, the sky (and your creativity) is the limit, but here are a few of the things I use them for:
Laminated ID cards and information cards
laminated “business card” size things I need to keep in my wallet. Any paper “ID” or paper theme park pass, or whatever.
Laminated instructions that I keep with items I use infrequently. For example, I laminated the instructions for a coffee maker I don’t use often, and clipped that to the power cord. Or I laminated the instructions to the fridge, and attached them to the back of it. Or laminating instructions to the generator, so if someone (my wife) who is not me has to use it, it is easier. I also laminate radio frequencies I need for Ham Radio or for other emergency preparedness.
Laminated school projects. My kids had to bring in pictures of ancestors for a school project, and most families printed them off. We printed them and then laminated them.
Laminated 4x6 “Itinerary” decks for road trips. When I plan a road trip, I make on page in a 4x6 “deck” for each stop, with things like mileage to next place, address, campground map, reservation number, or whatever. VERY helpful. I keep them on the dash, and it makes my wife and kids glad to see where we are going!
Lists of Emergency Contacts and Phone Numbers. Are you SURE your phone will always work well enough to get those numbers off it?
Laminated Instructions for Wiring Diagrams or Car Related things I need to remember. I have a bunch of old cars, and as a result, I cannot always remember the firing order of a GM V8 vs. a Ford V8, or the wiring diagram for the WIndshield Wiper motor in my 1989 Suburban that likes to go on the fritz. So I laminate that stuff and keep it in the glove box, to refer to.
As you can see, there are countless ways to use a laminator.
How Does a Laminator Work?
Basically, most laminators work by heating up two rollers, and then feeding a lamination pouch (with whatever piece of paper you want to laminate stuffed in it) through it. Most laminators have an auto-feed, so you just stick the paper in the pouch, and feed it in.
Note that when I say “pouch” it is really more like two sheets joined at one end. Almost like two sides of a book, and the paper is the middle of the book.
There are different types of “pouches” as well. I usually buy the thicker ones (5mil), but most laminators have a setting for whatever type you bought. You can see here mine has settings for:
3mil
4mil
5mil
COLD (this means the laminator rollers don’t heat up. Some pouches don’t need heat, they work on pressure. I never use those)

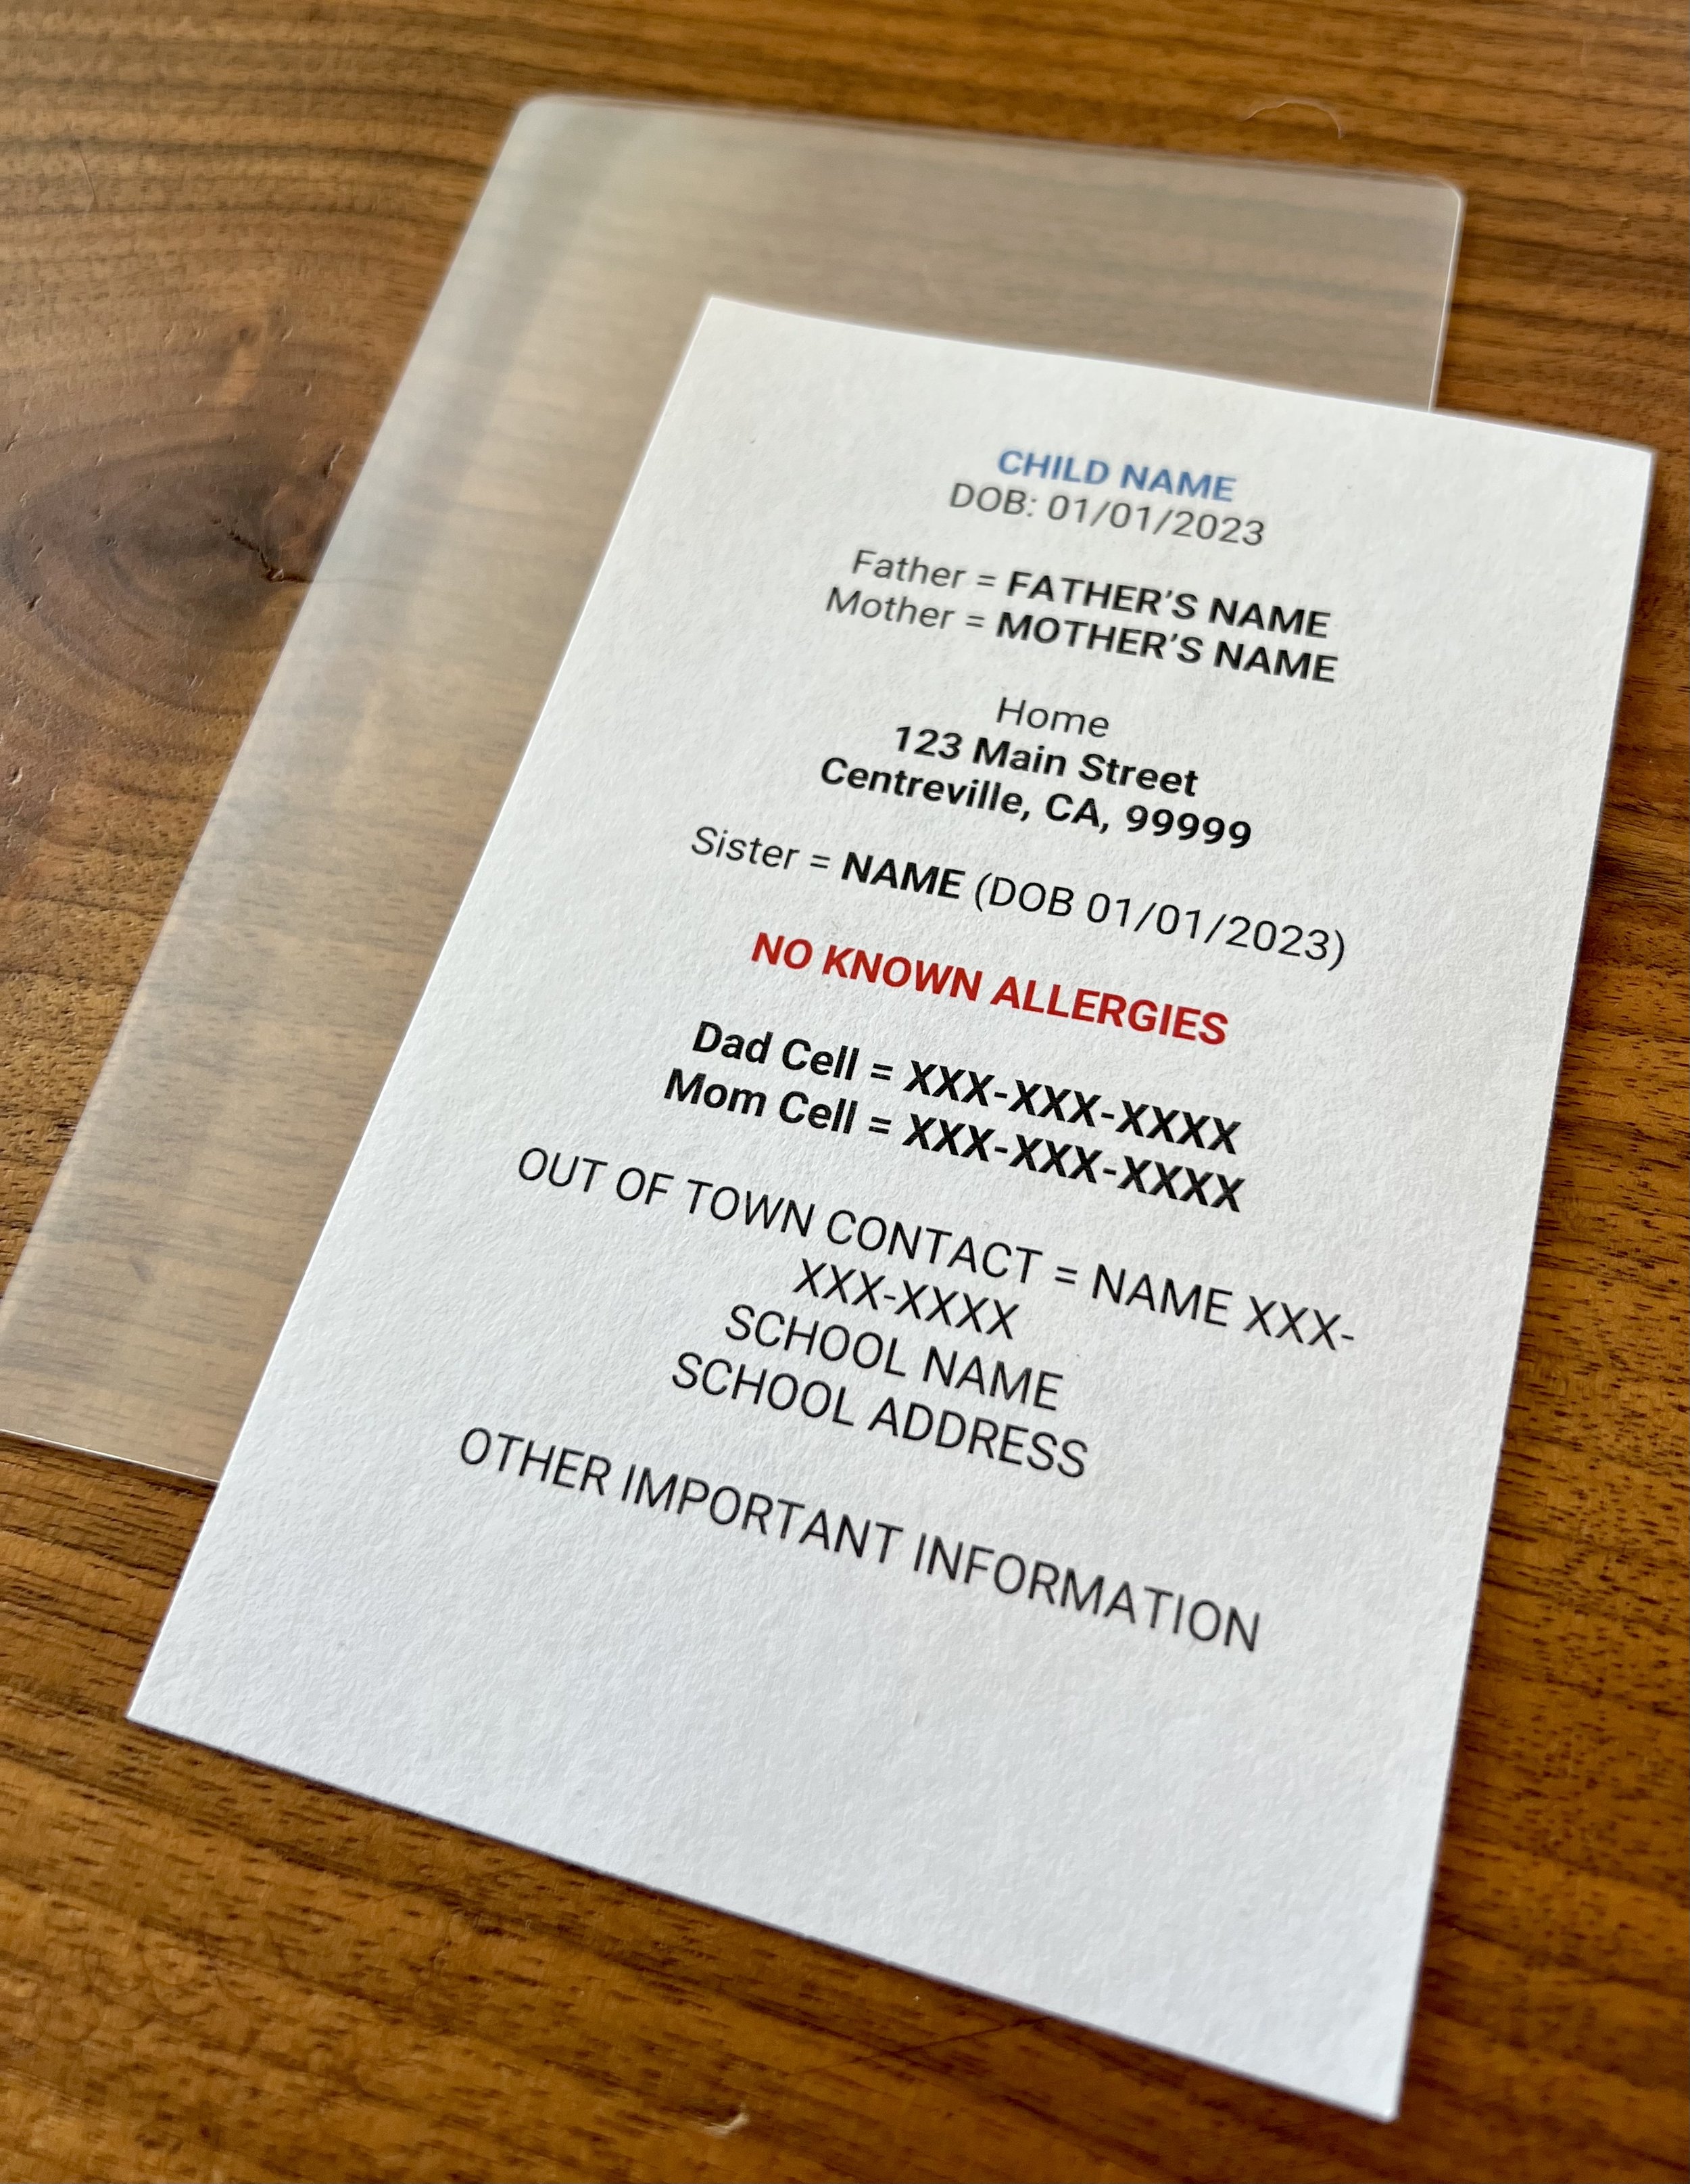
Let’s look at an example. I printed out a fake (two sided) Information Card for my kids. Obviously I don’t want to leave my personal information on a website, so this is just an example. I just fed normal 4x6 cardstock in to my printer (nothing special) and printed out on both sides. You can see the 4x6 “pouch” behind it. Notice how the pouch is sort of opaque. That gets clear once you run the heat over it in the laminator, so don’t worry. It is a little hard to see in the picture, but the pouch for a 4x6 is oversized, so the edges are covered.
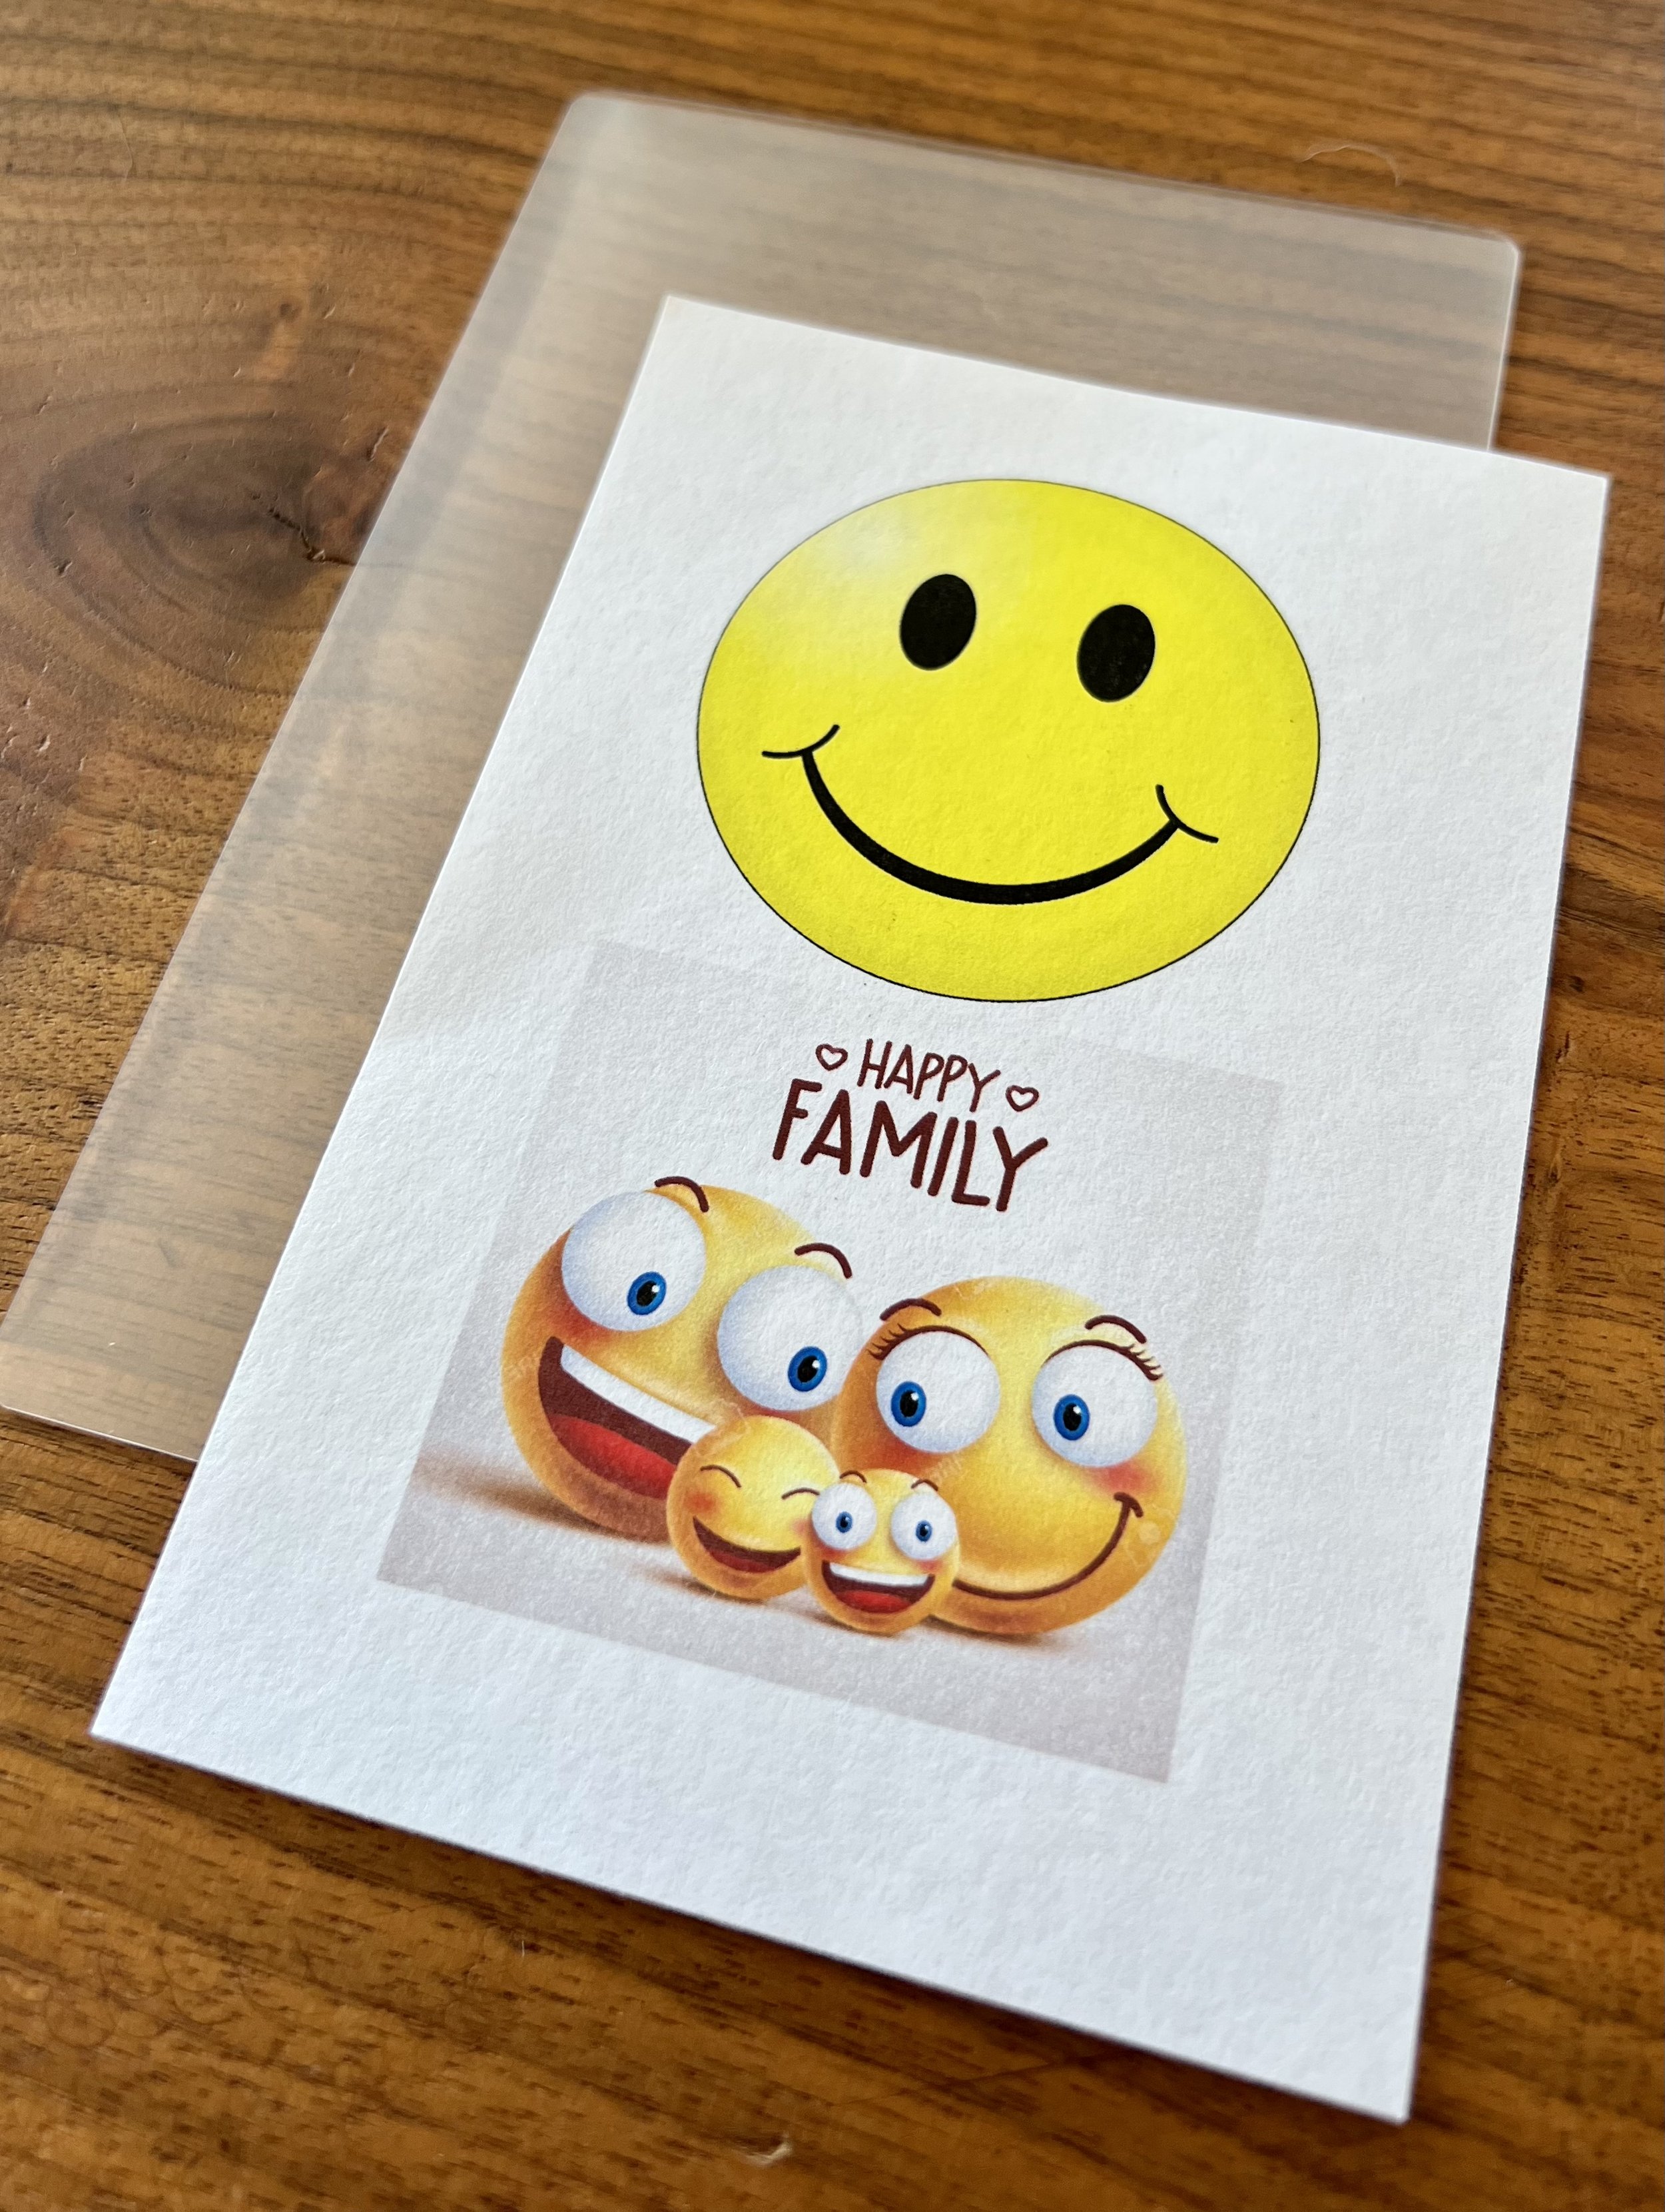
In this example, I put photos of my kid (smiley face here) as well as photos of our family (smiley face family). I figure that if we were ever separated, it would be good for me to not only have pictures of my kids, but me WITH my kids. And same for my kids. They would need a picture of my wife and I AND a picture of my wife and I WITH each of our kids. Those pictures above are of two sides of the same 4x6 card.
So to laminate this, just power up the laminator, press “5 mil,” and wait for the beep. Then feed the card in the pouch through the machine like this!

I didn’t take a video of the completed lamination coming out the back, but I hope you get the idea.
You can laminate anything you can find a pouch for, basically. And you can also cut the pouches to fit, so there’s no need to stress if you have something weird shaped you want to laminate.
Why a One Hole Punch is Necessary
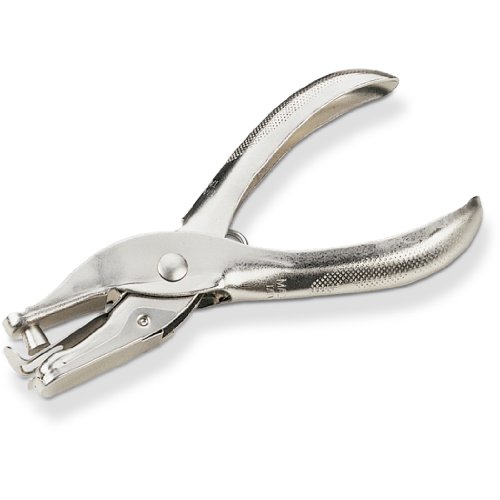
If you are of a particular age, you will remember 3 hole punches and how they use to be everywhere. I still have those, and use them, but allow me to introduce you to the ONE hole punch!

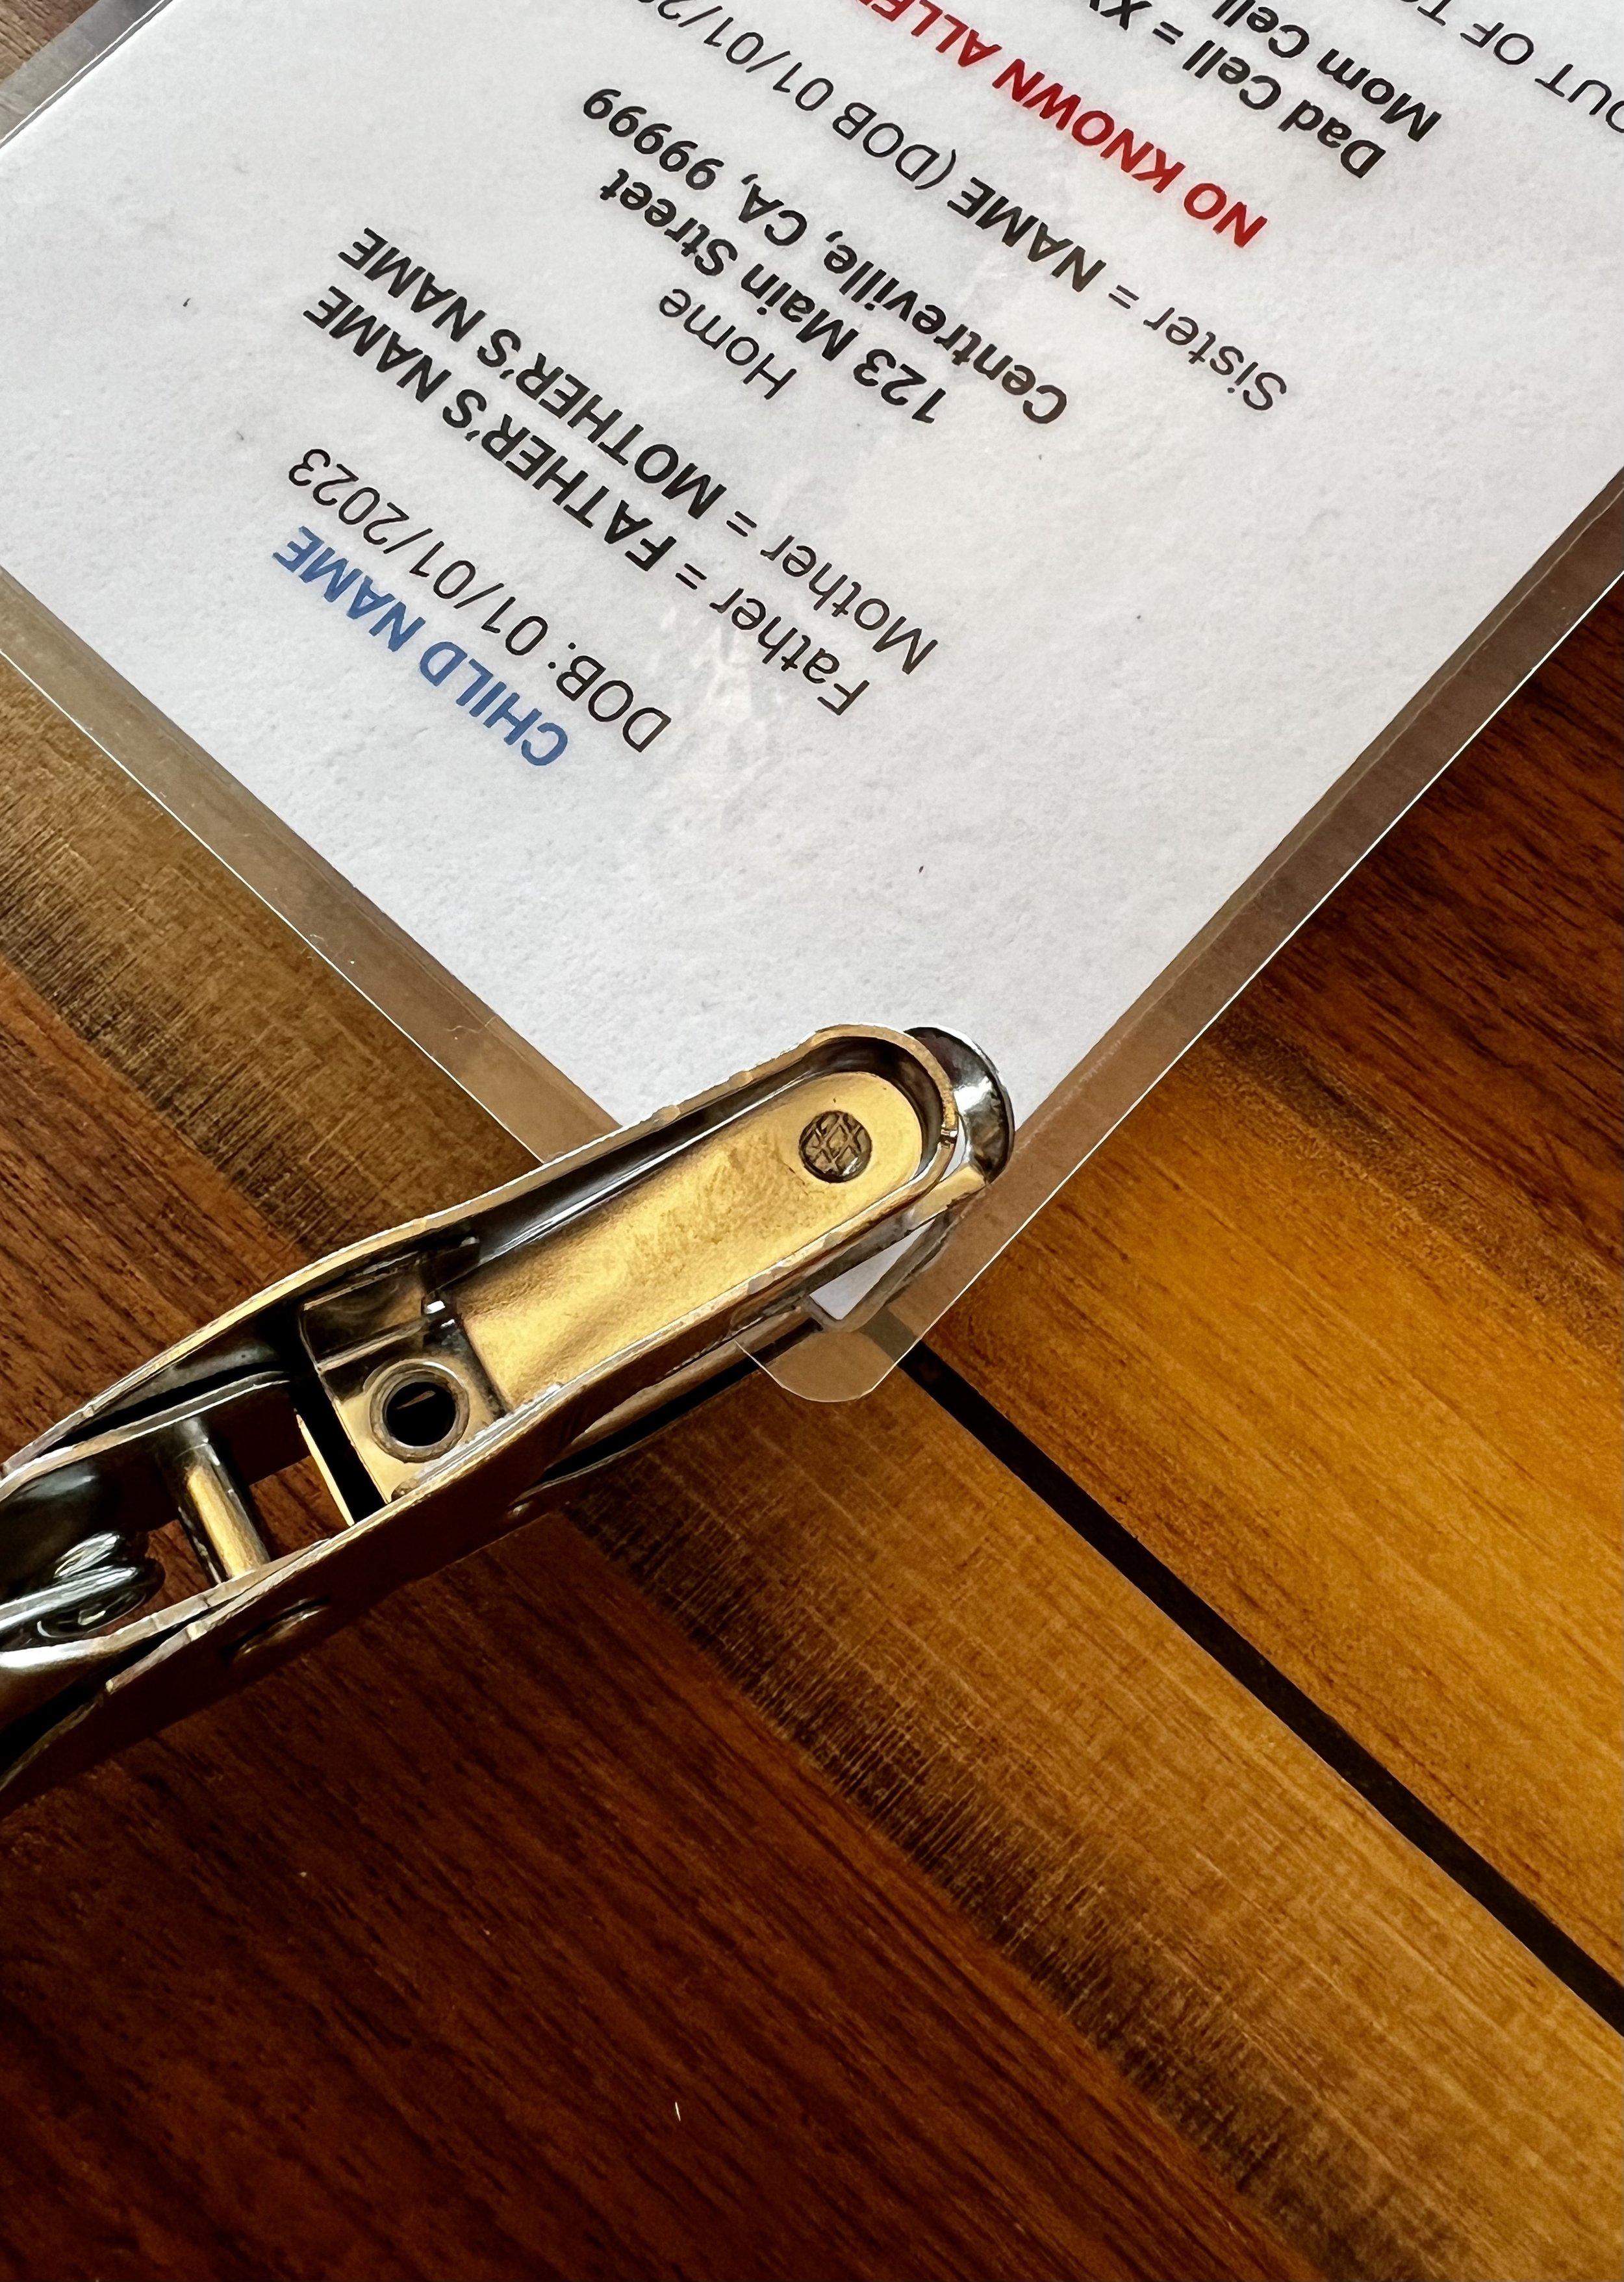
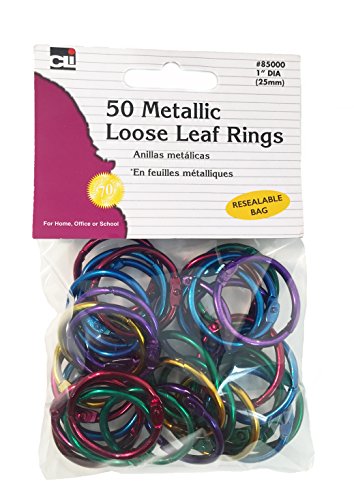
Pictured next to it are “Loose Leaf Rings”. Those are basically ONE Ring of a 3 ring binder, with nothing else connected to them. VERY useful. You punch a little hole in the corner of whatever you are laminating, and then put the ring through and you can hang it from a child’s backpack, or the cord of your coffeemaker!
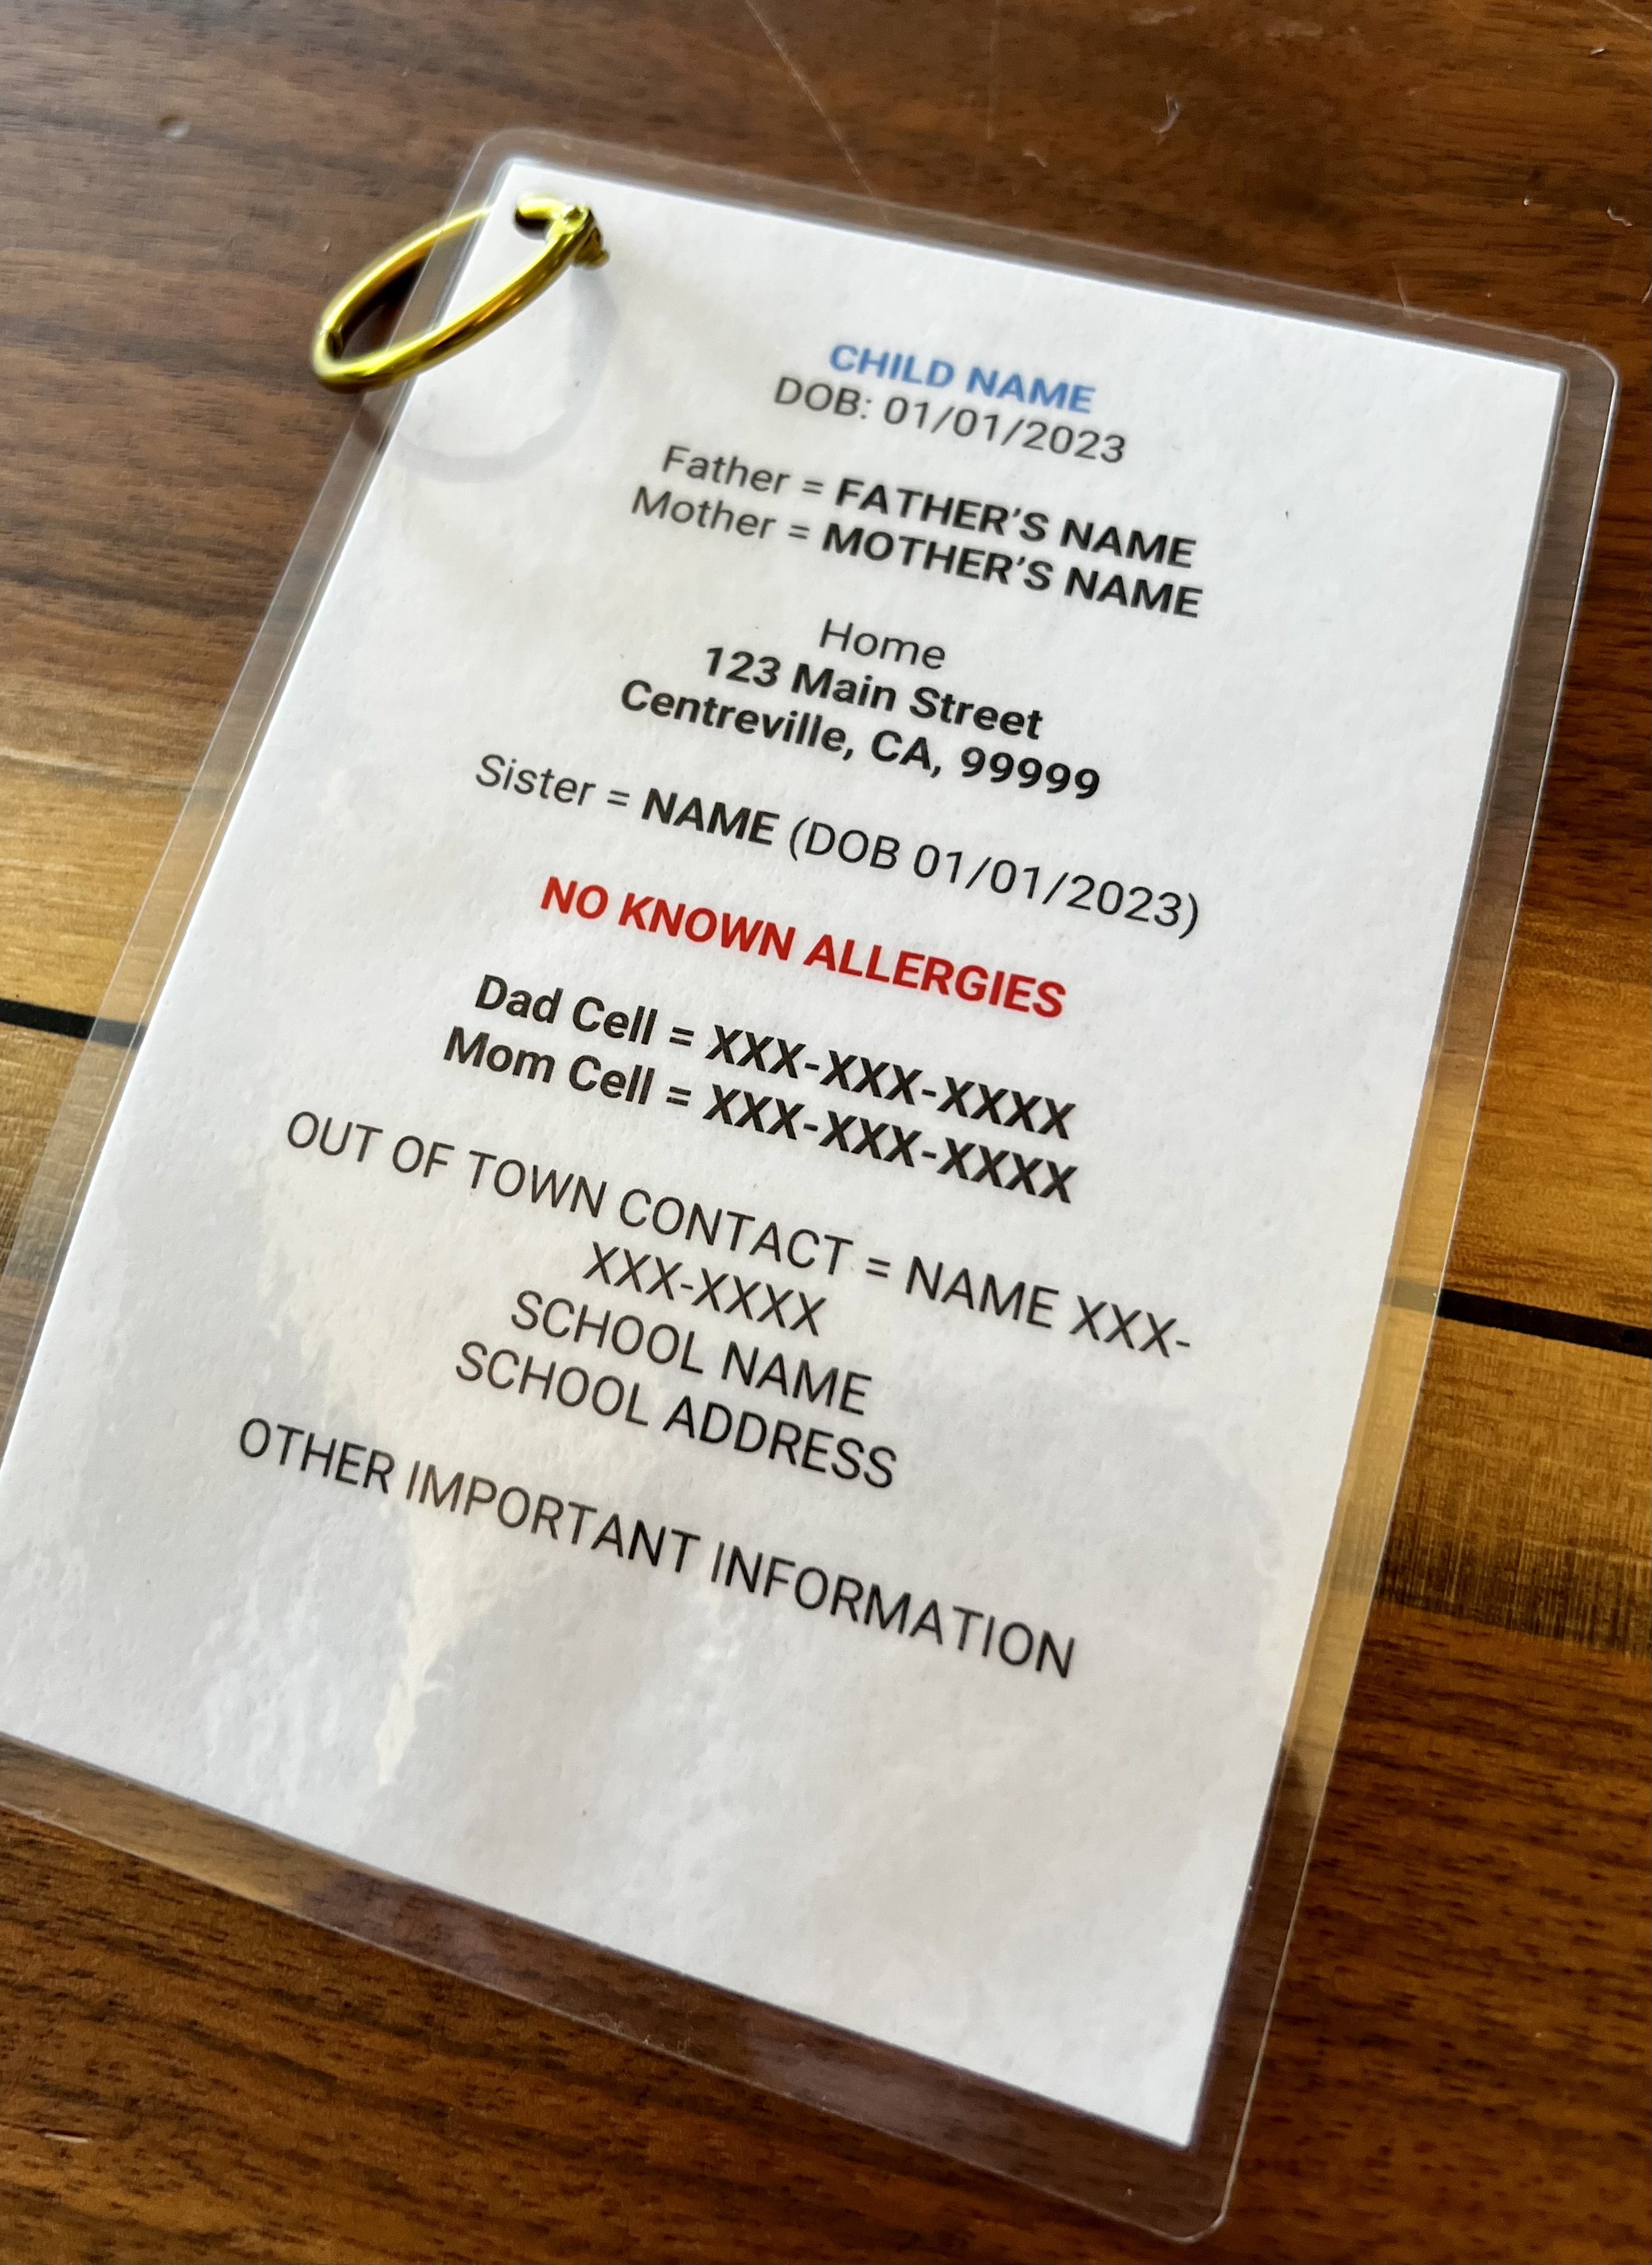
I also use these to make little “booklets",” because not all instructions can fit on a single two sided sheet. This works well with 8.5x11 paper, and 4x6 and 3x5. Doesn’t really matter.
What Laminator Should I Get?
Luckily, Laminators are cheap. When I first got in to it, I bought a Laminator from Purple Cows, off Amazon. That one was cheap, slow, and honestly didn’t work that well. It would “curl” the pouches at the corners, and made it look a little messy. So I treated myself to the one below. I’ve been using the Fellowes for a few years, and it works great. Check the current price below.
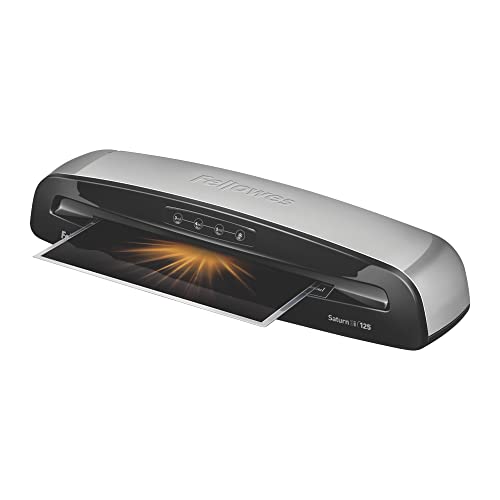
I chose that one because it is big (big enough for larger pouches), fast, can handle different thicknesses of laminating pouch, and sturdy. I am sure there are many others that work very well, and many are pretty reasonably priced as well.
There are all kinds of pouches, as well. I haven’t seen much difference between the fancy brand, and the off brand. So I usually just look for “5 MIL HOT LAMINATING POUCH” on Amazon. You get nice 4x6 Laminating pouches like this type. Those are what I used in the animations and pictures above.
You need a One Hole Punch also. These are not rocket science, but here’s a link to the one I have. It is literally like 5 bucks (click for current price). Nothing fancy.
And lastly, you can get some of those Loose Leaf Rings. They come in different diameters, different colors, and you can get them lots of places. I like these assorted color metallic ones, because they have assorted colors, which is kinda fun. They are about 8 bucks for 50 of them, so very reasonable. You can also, of course, use any other thing, like string, rubber bands, zip-ties, or something else to work with hole punches. But if you like those little rings, check them out here:
I hope you found the fun and easy. You can up the professionalism of your prepping game easily with a laminator!